I’m pretty sure it’s every photographer’s nightmare to show up to an event expecting to take some gorgeous shots, only to be greeted with the worst reality: a dark, dimly lit environment in which you’re still expected to take stunning photographs.
And how on earth are you expected to turn a lighting catastrophe into breathtaking photos of your own? Let me break it down for you. Here are my lighting solutions for dark environments.
Step 1: Take a deep breath because yes, you are still going to take great pictures.
Yes, I’m serious. Take a deep breath and gather yourself. See the pictures before you take them (that’s kind of like the whole ‘keep your eye on the ball’ thing, right?).
Alright, I maybe should have mentioned one other little detail: DO NOT be unprepared. If you’re taking pictures and want to make absolutely certain that you’re able to take great pictures, do yourself a favor and go to the location before the actual event.
Which leads me to….
Step 2: Do some scouting at the same time as you would be there for the event.
I cannot stress this enough. Go to where you are taking pictures, learn the light, the rooms, and practice. This way, you’ll have a significantly better understanding of the whole lighting situation and, it will give you plenty of time to take some test shots, see what kind of equipment you need, and figure out what will work.
Now, let me tell you my own personal photo horror story that unfolded precisely because I hadn’t followed this piece of advice…
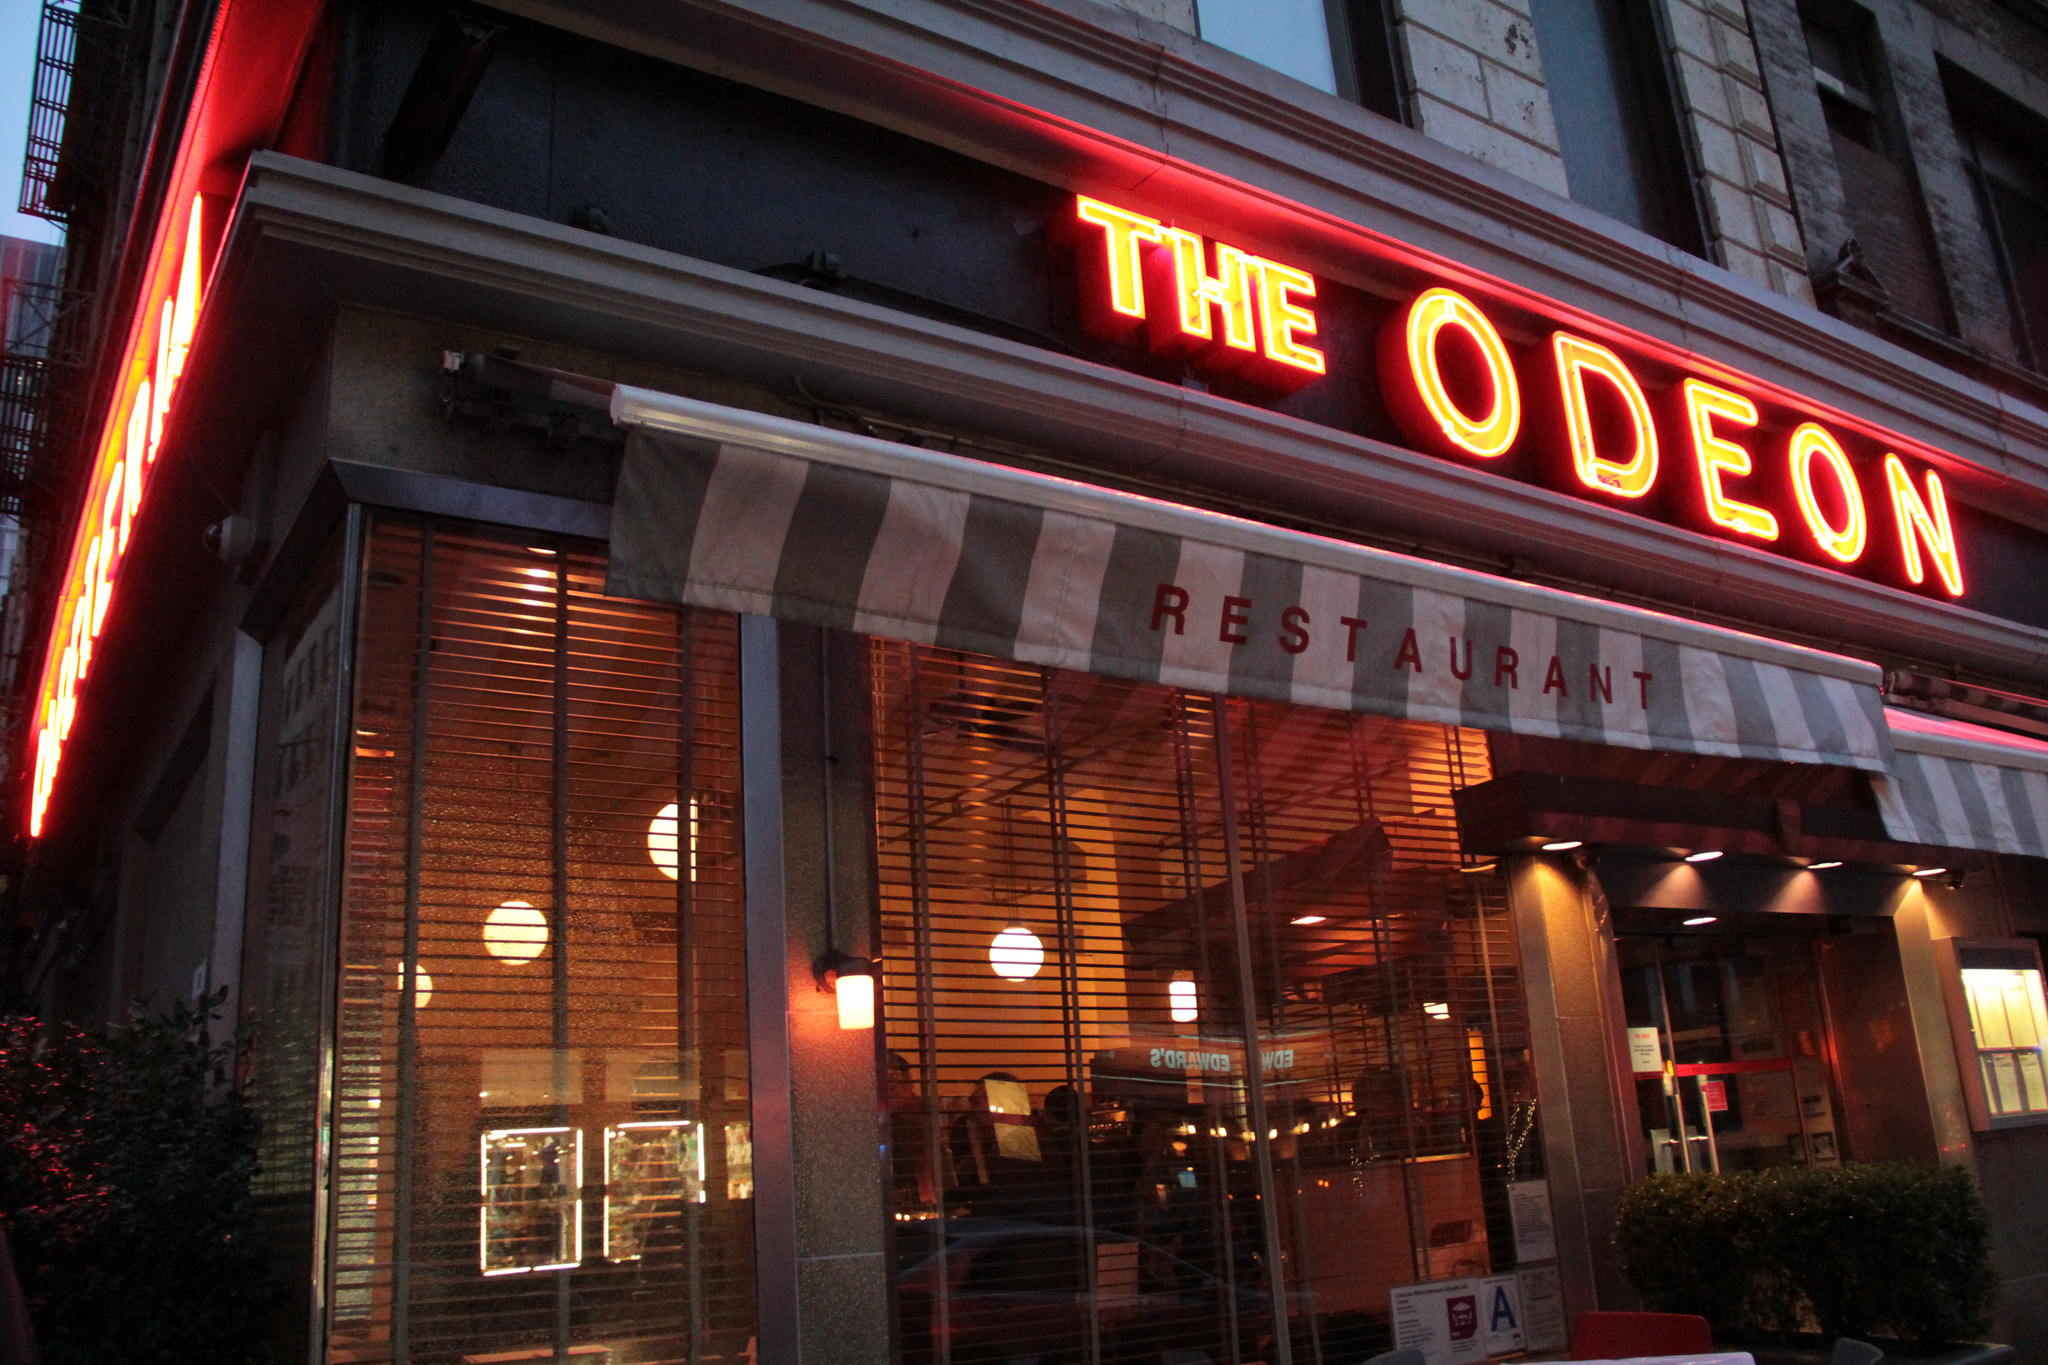
One fine (and my fine I mean shitty, rainy, gray, overcast and otherwise unpleasant) evening in New York City, I was hired (in my defense it was a last minute gig) to take photos of a scholarship benefit dinner at the swanky TriBeCa eatery, The Odeon. As soon as I walked through the dimly lit front doors, I knew the place was so dark that I was going to struggle to take any sort of good pictures.
At this time I was operating primarily with an 18-135mm lens and hadn’t fully converted into a proponent of prime lenses in these situations. This instantly put me at a disadvantage because you never have the range of aperture and are forced to use a low shutter speed or rely heavily on an external flash. Both are not fantastic options as a slow shutter speed often won’t compensate enough for the lighting without blurring the subject and using directional light in tight spaces can be really obnoxious for guests, not to mention, it’ll drain your batteries with a quickness.
Long story short, the pictures didn’t turn out as good as I’d hoped and needless to say, I’d learned my lesson about going to an event unprepared and short on equipment options.
Whenever I’m going to a new location nowadays, I take almost everything but the kitchen sink just to make sure I’m prepared for any situation, that is unless I know the location from prior experience. Some of my go-to accessories for low light scenarios are my prime lenses (I usually carry a 24mm and 50mm that go to f/1.8 and take really nice shots in dark rooms), an external flash with a remote and diffuser, a continuous LED video light, and a monopod.
Step 3: Test the accessories.
You might just find that you’ll catch plenty of light setting your lens to largest aperture setting around f/1.8, or, you might find that that alone won’t work. The moral of the story here is simple: test and try different combinations until you find what works.
You might also find that early on you’ll be fine without a flash but as the night continues, you’ll have less and less light, and you might eventually need to switch to a flash.
In many situations, I’ll use an external flash to bounce light off the ceiling and light up a room for a split second. But when using flash, you’re always going to lose a few seconds after the shot while the flash recharges. If you’re doing ultra-time-sensitive photography like taking photos for a wedding or a bar/bat mitzvah, sometimes you don’t want to lose those few seconds for fear of missing a moment entirely. Which is exactly why I often rely on an adjustable continuous video light, either used like a flash from the hot shoe mount on my camera or, attached to a monopod used almost like a boom (while being held by my trust assistant).
And when in doubt…
Step 4: Light it up like the 4th of July.
Of course it’s your job as the photographer to make some executive decisions and figure out how to best light a room for pictures… But sometimes you’ve just got to throw everything you’ve got at a place. There have been times when I’ve had my LED video light on a monopod to throw some directional light and supplemented that with some bounce flash from an external flash… all while having the house lights turned up a bit.
One little pro tip: Don’t be afraid to ask the venue to turn up the house lights, especially for entrances or important moments that you really don’t want to miss. Chances are someone will thank you for it anyway!
Final words of advice: Pack plenty of batteries if you’re going to be relying heavily on your flash because you will absolutely fly through them.
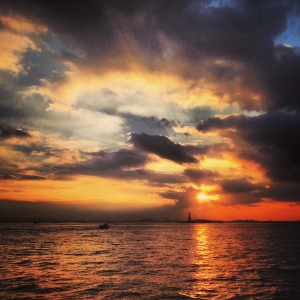
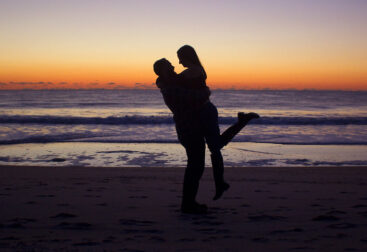
And last but not least: Go with a positive mindset and make the best of whatever situation you find yourself in. Supplement not-so-great interior shots with absolutely fantastic exterior ones. Get creative and get shooting!
-ML